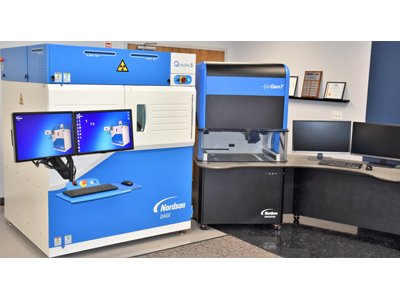
To reliably detect, image and analyze defects in electronic components and similar items, it makes sense to employ multiple nondestructive tools and methods. As part of Nordson’s recent acquisition of Sonoscan, a Nordson DAGE X-ray tool was recently added to the C-SAM® acoustic micro imaging tools at Nordson SONOSCAN.
Customers bring their tough problems to the SonoLab. Are these flip chip and BGA bumps intact and properly bonded? Are there voids in the underfill? Why do the die in these IGBT modules keep cracking and failing?
Ultrasound penetrates most production materials, including dense metals, but not air or porous materials. X-ray penetrates air and porous materials in addition to most production materials, but may not penetrate some dense metal layers.
X-ray images are created by transmitting X-rays through the sample and detecting the shadow image it casts. Higher density materials such as solder cast a darker shadow while lower density regions such as voids cast a lighter shadow, making it easy to see features such as voiding. Scattering of X-rays is typically not observed.
Ultrasound is partly reflected and partly transmitted at interfaces between most materials, but is almost entirely reflected by the air-to-solid interface at voids and other gaps, and there is no transmission, even if the void or gap is only a fraction of a micron thick. This property of ultrasound makes imaging thin delaminations easy, even in samples containing dense metals.
The wires in devices scatter ultrasound and make imaging difficult, but X-ray’s higher resolution brings out the details.
The ability to move samples between the two side-by-side and complementary nondestructive tools has already demonstrated superior results for SonoLab customers.

